knitted I-cord
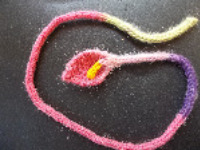
 The bookmarks are started with what I call a long tail. It is a cord knitted on either 2 or 3 stitches. You do not want the cord to be too thick. It will distort the shape of the book if it is too thick. If you like to work with really thick yarns then you may want to use a ribbon as the long tail.
I am using size 1 double pointed needles for this with sock weight yarn, very thin. Cast on 3 stitches using either the simple loop method or the knitted on method. Push the yarn to the other end of needle. Pull the excess yarn up the back of the stitches. AS you go to knit the first stitch make sure the excess yarn is between stitches and the yarn you are knitting with. As you knit the excess yarn will then be in the center of the cord. No need to worry about tying it off or weaving it in. For each row push the stitches to the opposite end of the needle and knit the 3 stitches off the needle. After you have knit a few rows pull the excess yarn up tight in the center. This will tighten the stitches together at the end of the tube. Continue to push the 3 stitches to the opposite end of the needle until you have desired length for you long tail. Anywhere from 9 to 12 inches. It depends on the height of the book how long you may want your bookmark.
How I Started With Bobbin Lace
I decided during the lock down in San Francisco I would learn bobbin lace. Little did I know that this is a very complex craft. Over 20 years ago I observed a lady demostrating bobbin lace at an art festival. I had always wanted to learn more about how to make bobbin lace and now seemed a good time. The library was open only for e-books. This meant that I would need to use older e-books and online videos to learn. I was not sure if Bobbin Lace was for me. So, I made inexpensive toos to try out the craftt. Now I find that I really enjoy my diy tools.
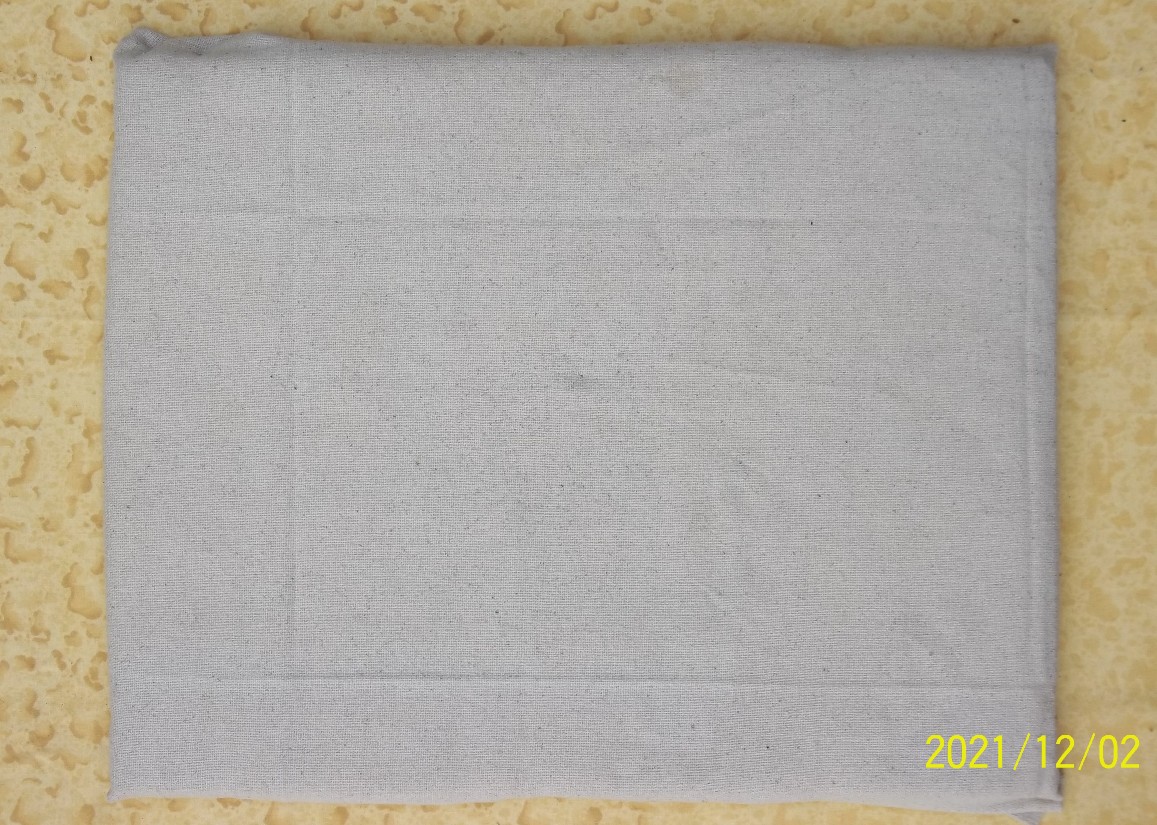
 For the pillow I went to the local dollar store and brought a couple sheets of form core. I cut the foam core to a smaller size. One piece was laid on top of the other to allowe the pins to go a little deeper into the 'pillow'. Next, a layer of pading was placed on top of the pieces. The padding I used was cotton quilt batting I had on hand. All of this was covered with a piece of muslin cloth. This was pinned at the edges to keep it in place.
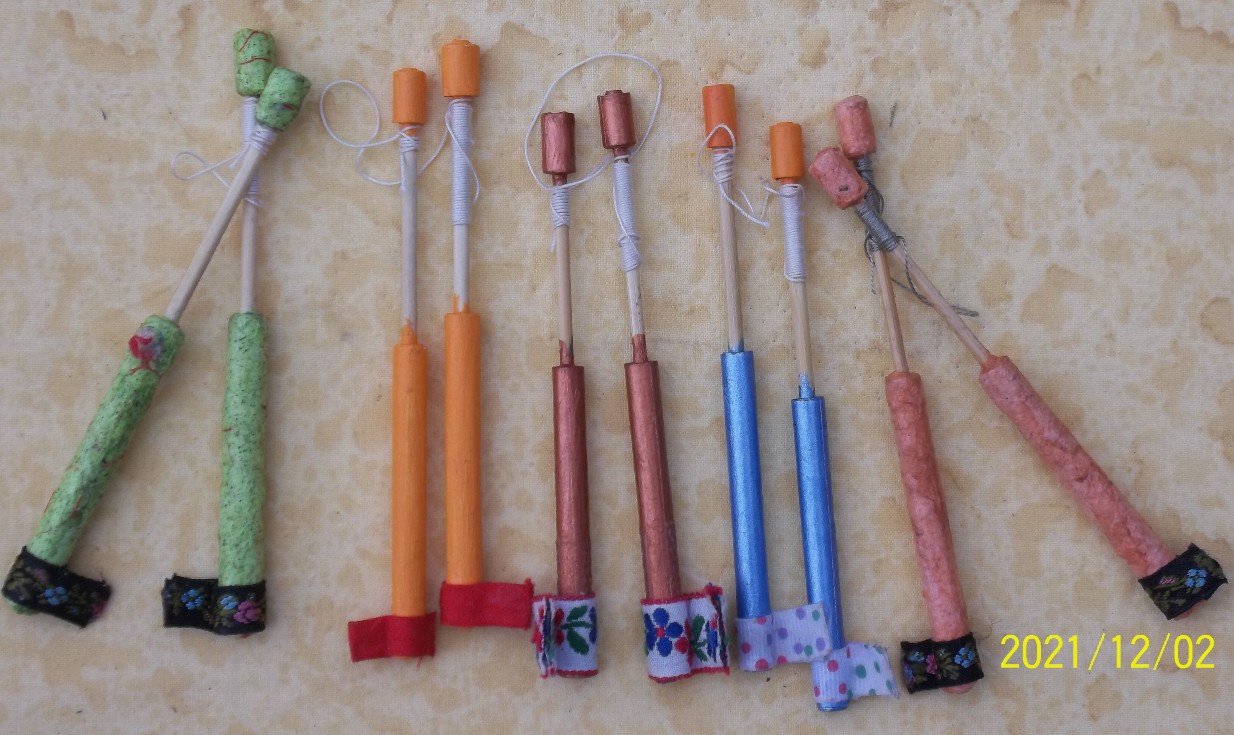
 For the bobbins I cut some skews into 4.5 inch lengths. I cut out two different long strips of paper about 2.5 inches long and a quarter of an inch long. These were wrapped about the two ends of the skewers. The 'bobbins' were then either painted with arcylic paint or wrapped with some of my handmade paper. After the bobbins were completed I noticed that they tended to roll around on my flat 'pillow'. I stopped the rolling by attaching a small piece of fabric or ribbon to the end of the bobbin with a little flap hanging out.
The thread I used was size 20 crochet thread that I had left over from tatting projects.
Regular straight pins were used to hold the thread.
Now, all I needed was a book to learn about bobbin lace. The library did not have any introductory ebooks on bobbin lace. I found a useful bobbin lace e-book on Amazon. I would not recommend learning bobbin lace from an ebook because the scale of the pricking patterns might be difficult to figure out or reproduce. I had to determine how to enlarge the patterns using graph paper. Most authors of bobbin lace ebooks do not tell one what size of graph paper is needed to redraw the pattern so I proceeded with trail and error. These problems also occur with most videos on bobbin lace weaving. Your may need to set asside extra time to figure out how to scale prickings and pattern design.
At first I thought that all forms of bobbin lace were torchin lace. There are many different techniques to produce bobbin lace. Future posts of bobbin lace will discuss the schools of bobbin lace I found most interesting.
Three Techniques of Fiber Work
 Bobbin Lace
This is an example of torchin bobbin lace. In the example to the left bobbins are used in pairs. The pairs on the left side are hung - each on a pin. One set of bobbins are hung on a pin to the left of center. This set of bobbins is woven to the left through the bobbins already hung. Once the left side is reached a second set of bobbins is added and woven from right to left. This example becomes much more complicated from here. When one looks to the left one will see a piece of white paper. This white paper is a pricking. The pricking has holes for where the pins should be placed. There are 7 sets of bobbins hanging in this example. This illustrates the explanation above.
 Tatting
Tatting is done with a shuttle. It can be done with either a ball of thread and a shuttle or two shuttles. One of the shuttles is used to create knots over the other thread. As the thread is knotted it is made into interesting shapes.
 Knitting
The three hanging ornaments to the left are knitted are double pointed needles. They were stuffed as the pieces were knitted. This way the piece does not need to be sewn together after it is completed.
The flower with the long tail is a book mark. It is also knitted on double pointed needles without the need to do a lot of sewing. The piece is knitted from the bottom of the tail up. The only item sewn on this piece is the button at the top. This allows for making of many creative book marks.
